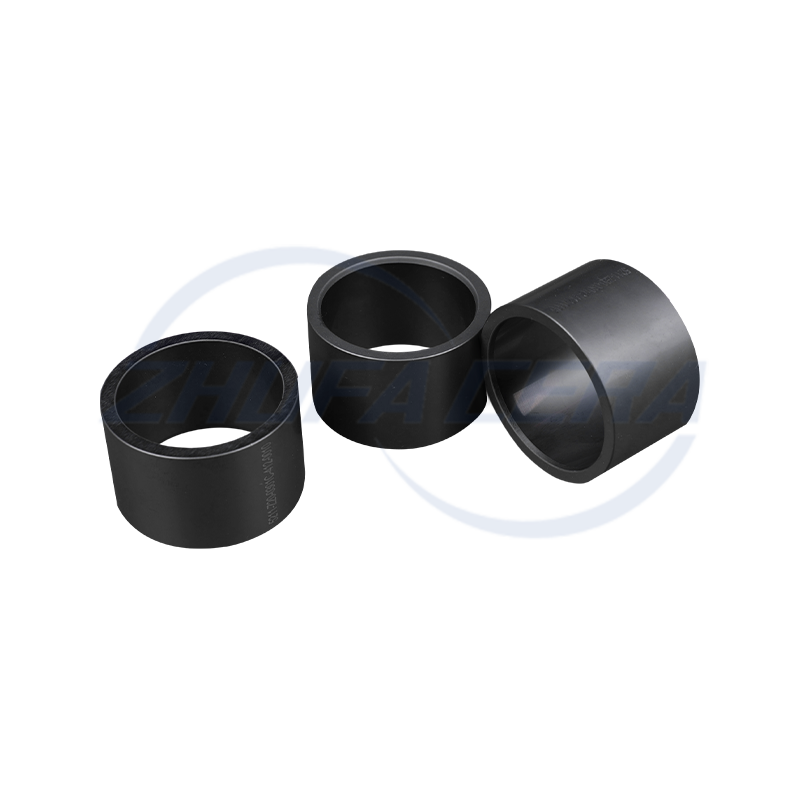
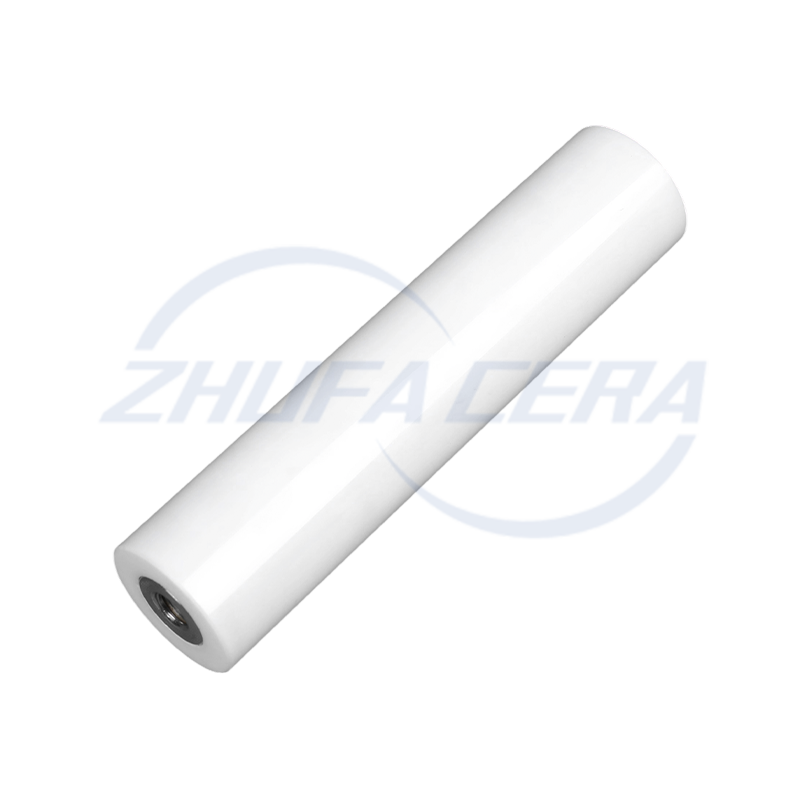
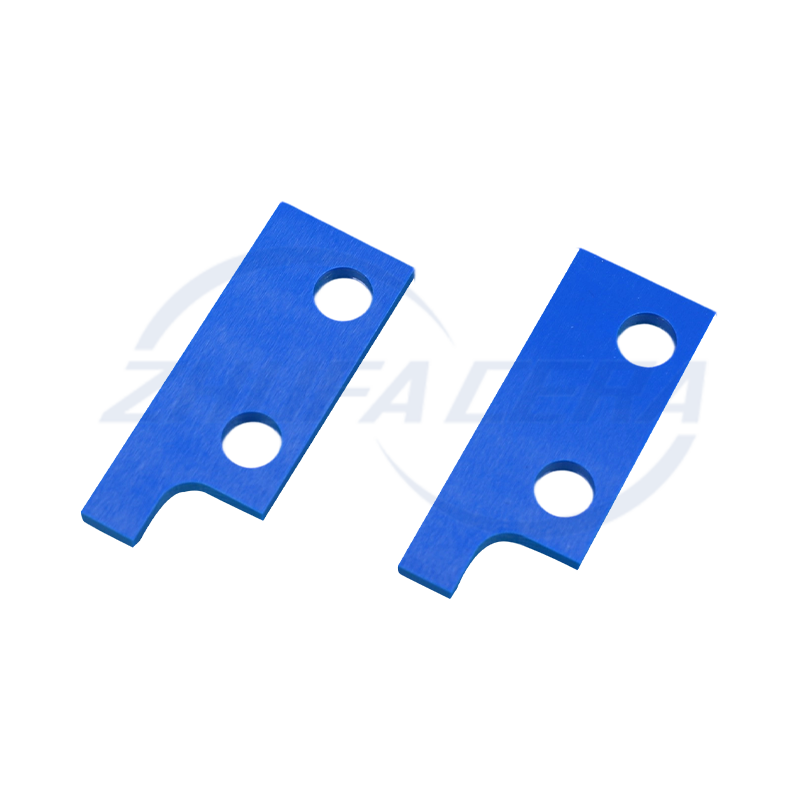
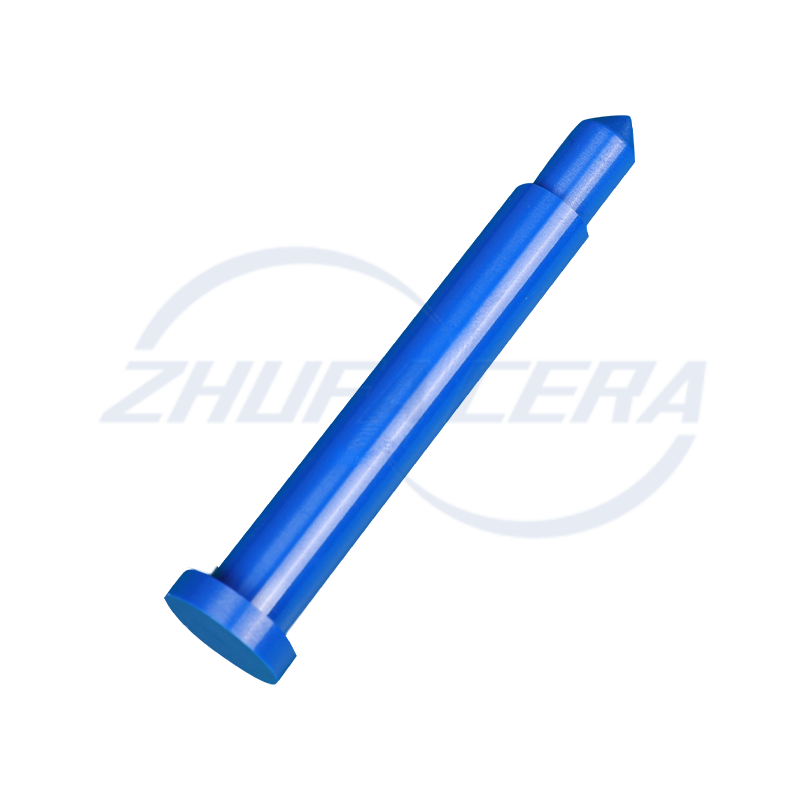
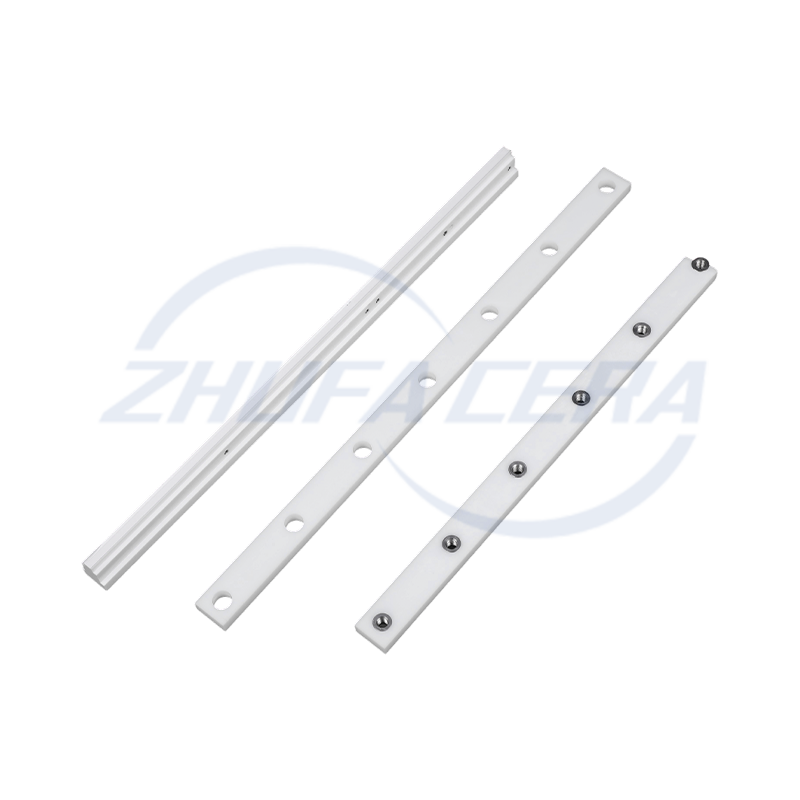
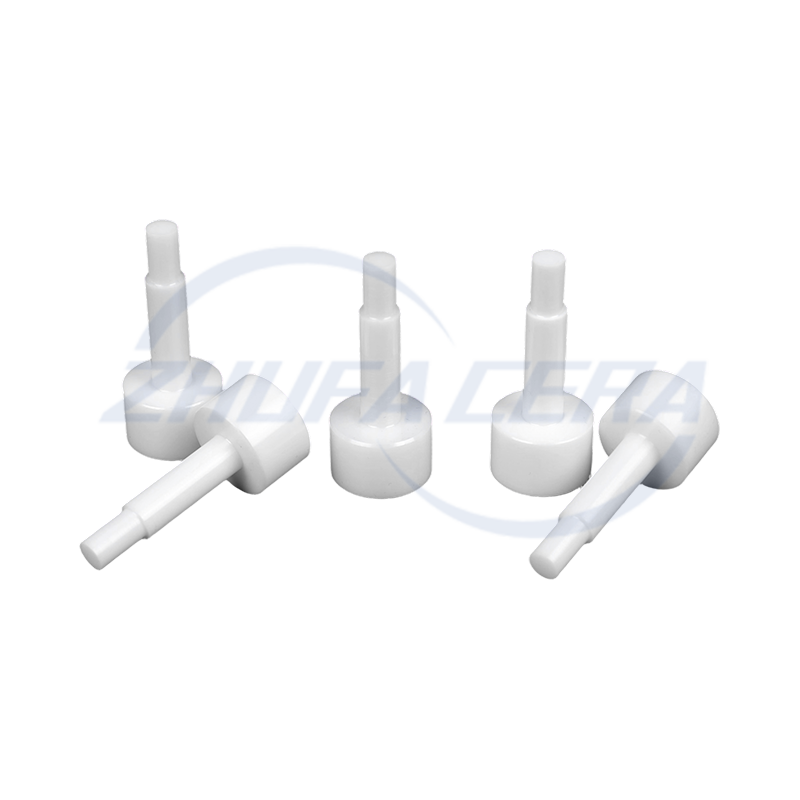
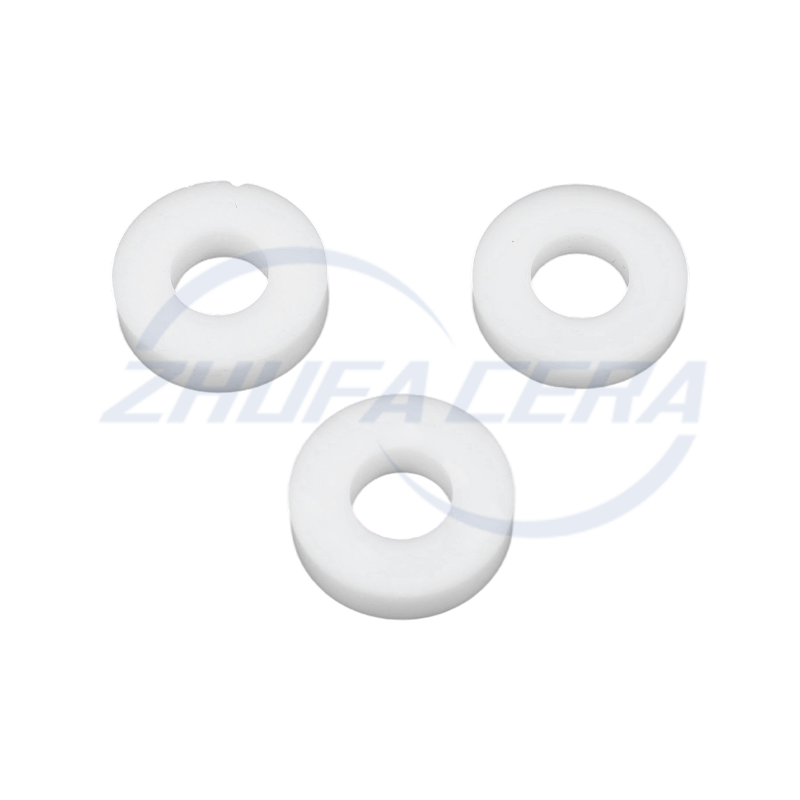
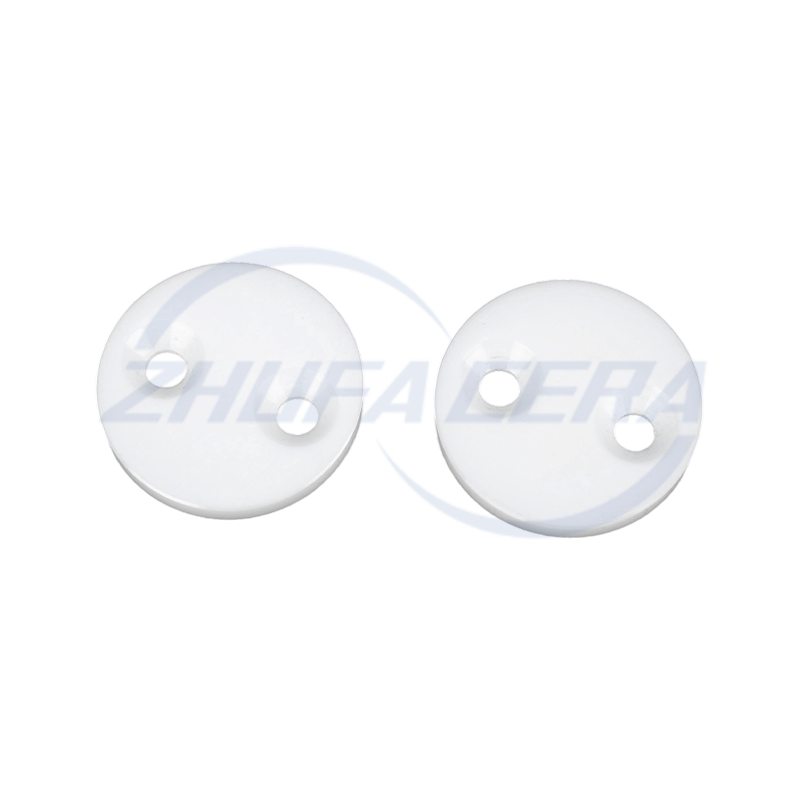
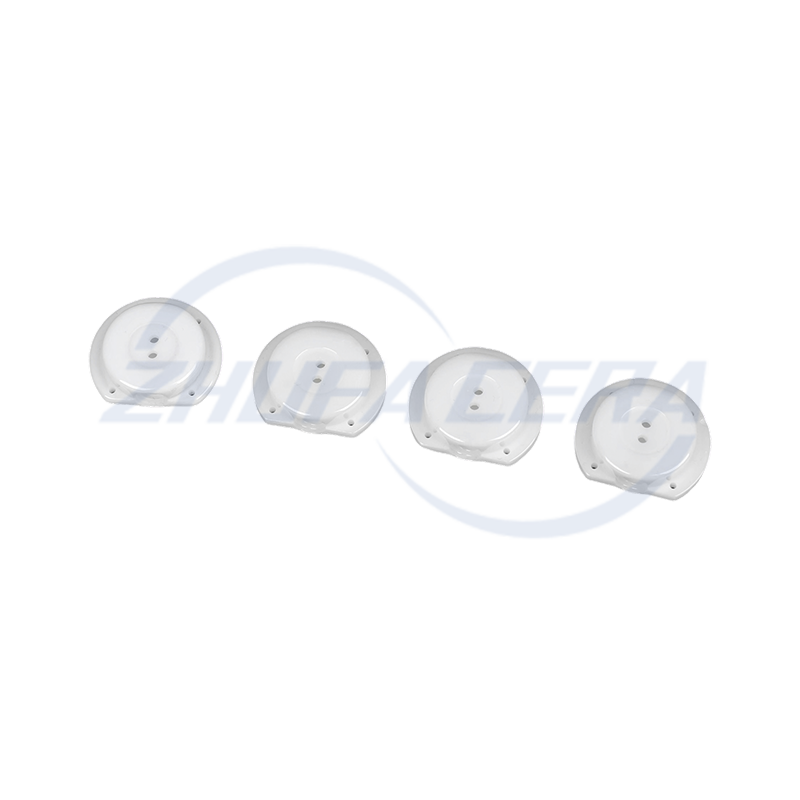
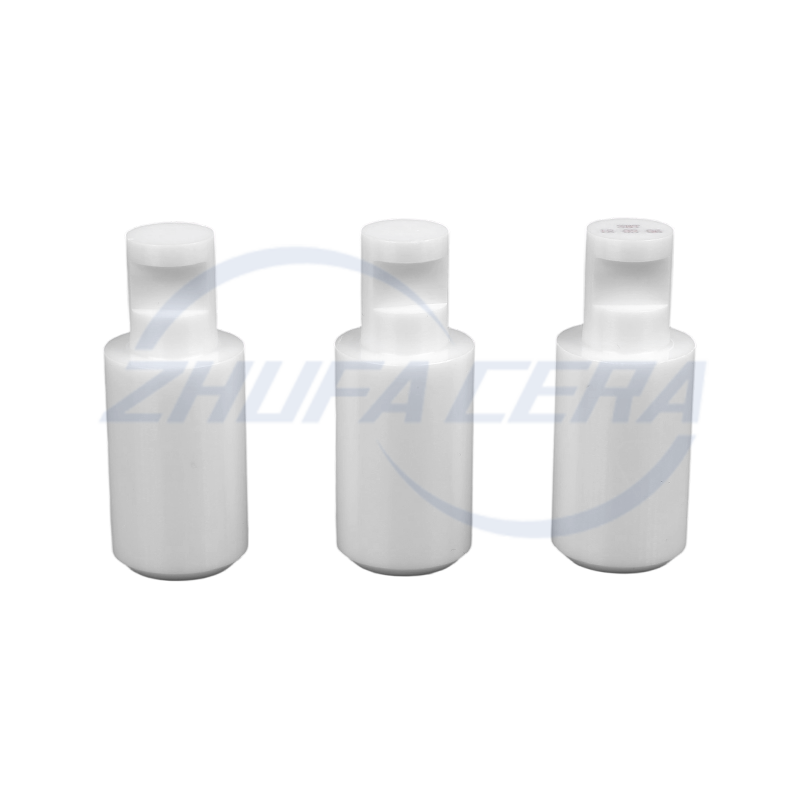
Black silicon carbide ceramic ring is a high-performance engineered ceramic assembly made of high-purity silicon carbide by precision molding and high temperature sintering. Its quadrangular crystal s...
See Details Email: zf@zfcera.com
 Telephone: +86-188 8878 5188

Zirconia Ceramics: A Comprehensive Practical Guide from Selection to Maintenance
2025-10-11
Content
- 1. Understand Core Properties First: Why Can Zirconia Ceramics Adapt to Multiple Scenarios?
- 2. Scenario-Based Selection Matters: How to Choose the Right Zirconia Ceramics According to Needs?
- 3. Daily Maintenance Tips: How to Extend the Service Life of Zirconia Ceramic Products?
- 4. Performance Testing for Self-Learning: How to Quickly Judge Product Status in Different Scenarios?
- 5. Recommendations for Special Working Conditions: How to Use Zirconia Ceramics in Extreme Environments?
- Table 2: Protection Points for Zirconia Ceramics Under Different Extreme Working Conditions
- 5.1 High-Temperature Conditions (e.g., 1000-1600℃): Preheating and Thermal Insulation Protection
- 5.2 Low-Temperature Conditions (e.g., -50 to -20℃): Toughness Protection and Structural Reinforcement
- 5.3 Strong Corrosion Conditions (e.g., Strong Acid/Alkali Solutions): Surface Protection and Concentration Monitoring
- 6. Quick Reference for Common Problems: Solutions to High-Frequency Issues in Zirconia Ceramic Use
- 7. Conclusion: Maximizing the Value of Zirconia Ceramics Through Scientific Usage
1. Understand Core Properties First: Why Can Zirconia Ceramics Adapt to Multiple Scenarios?
To use zirconia ceramics accurately, it is first necessary to deeply understand the scientific principles and practical performance of their core properties. The combination of these properties allows them to break through the limitations of traditional materials and adapt to diverse scenarios.
In terms of chemical stability, the bond energy between zirconium ions and oxygen ions in the atomic structure of zirconia (ZrO₂) is as high as 7.8 eV, far exceeding that of metal bonds (e.g., the bond energy of iron is approximately 4.3 eV), enabling it to resist corrosion from most corrosive media. Laboratory test data shows that when a zirconia ceramic sample is immersed in a 10% concentration hydrochloric acid solution for 30 consecutive days, the weight loss is only 0.008 grams, with no obvious corrosion marks on the surface. Even when immersed in a 5% concentration hydrofluoric acid solution at room temperature for 72 hours, the surface corrosion depth is only 0.003 mm, much lower than the corrosion resistance threshold (0.01 mm) for industrial components. Therefore, it is particularly suitable for scenarios such as liners of chemical reaction kettles and corrosion-resistant containers in laboratories.
The advantage in mechanical properties stems from the "phase transformation toughening" mechanism: pure zirconia is in the monoclinic phase at room temperature. After adding stabilizers such as yttrium oxide (Y₂O₃), a stable tetragonal phase structure can be formed at room temperature. When the material is impacted by external forces, the tetragonal phase rapidly transforms into the monoclinic phase, accompanied by a 3%-5% volume expansion. This phase transformation can absorb a large amount of energy and prevent crack propagation. Tests have shown that yttria-stabilized zirconia ceramics have a flexural strength of 1200-1500 MPa, 2-3 times that of ordinary alumina ceramics (400-600 MPa). In wear resistance tests, compared with stainless steel (304 grade) under a load of 50 N and a rotation speed of 300 r/min, the wear rate of zirconia ceramics is only 1/20 that of stainless steel, performing excellently in easily worn components such as mechanical bearings and seals. At the same time, the fracture toughness is as high as 15 MPa·m^(1/2), overcoming the shortcoming of traditional ceramics being "hard but brittle".
High-temperature resistance is another "core competitiveness" of zirconia ceramics: its melting point is as high as 2715℃, far exceeding that of metal materials (the melting point of stainless steel is approximately 1450℃). At high temperatures of 1600℃, the crystal structure remains stable without softening or deformation. The coefficient of thermal expansion is approximately 10×10⁻⁶/℃, only 1/8 that of stainless steel (18×10⁻⁶/℃). This means that in scenarios with severe temperature changes, such as the process of an aero-engine starting to full-load operation (temperature change up to 1200℃/hour), zirconia ceramic components can effectively avoid internal stress caused by thermal expansion and contraction, reducing the risk of cracking. A 2000-hour continuous high-temperature load test (1200℃, 50 MPa) shows that the deformation is only 1.2 μm, much lower than the deformation threshold (5 μm) of industrial components, making it suitable for scenarios such as high-temperature furnace liners and thermal barrier coatings of aero-engines.
In the field of biocompatibility, the surface energy of zirconia ceramics can form a good interface bond with proteins and cells in human tissue fluid without causing immune rejection. Cytotoxicity tests (MTT method) indicate that the impact rate of its extract on the survival rate of osteoblasts is only 1.2%, far lower than the medical material standard (≤5%). In animal implantation experiments, after implanting zirconia ceramic implants into the femurs of rabbits, the bone-bonding rate reached 98.5% within 6 months, with no adverse reactions such as inflammation or infection. Its performance is superior to traditional medical metals such as gold and titanium alloys, making it an ideal material for implantable medical devices such as dental implants and artificial joint femoral heads. It is the synergy of these properties that allows it to span multiple fields such as industry, medicine, and laboratories, becoming a "versatile" material.
2. Scenario-Based Selection Matters: How to Choose the Right Zirconia Ceramics According to Needs?
The performance differences of zirconia ceramics are determined by the stabilizer composition, product form, and surface treatment process. It is necessary to select them accurately according to the core needs of specific scenarios to give full play to their performance advantages and avoid "wrong selection and misuse".
Table 1: Comparison of Key Parameters Between Zirconia Ceramics and Traditional Materials (for Replacement Reference)
|
Material Type |
Coefficient of Thermal Expansion (10⁻⁶/℃) |
Flexural Strength (MPa) |
Wear Rate (mm/h) |
Applicable Scenarios |
Key Considerations for Replacement |
|
Yttria-Stabilized Zirconia Ceramics |
10 |
1200-1500 |
0.001 |
Bearings, Cutting Tools, Medical Implants |
Dimension compensation required; welding avoided; special lubricants used |
|
Stainless Steel (304) |
18 |
520 |
0.02 |
Ordinary Structural Parts, Pipes |
Fit clearance adjusted for large temperature differences; electrochemical corrosion prevented |
|
Alumina Ceramics |
8.5 |
400-600 |
0.005 |
Low-Pressure Valves, Ordinary Brackets |
Load can be increased but equipment load capacity limit must be evaluated simultaneously |
2.1 Replacement of Metal Components: Dimension Compensation and Connection Adaptation
Combined with the parameter differences in Table 1, the coefficient of thermal expansion between zirconia ceramics and metals differs significantly (10×10⁻⁶/℃ for zirconia, 18×10⁻⁶/℃ for stainless steel). Dimension compensation must be accurately calculated based on the operating temperature range. Taking the replacement of a metal bushing as an example, if the operating temperature range of the equipment is -20℃ to 80℃ and the inner diameter of the metal bushing is 50 mm, the inner diameter will expand to 50.072 mm at 80℃ (expansion amount = 50 mm × 18×10⁻⁶/℃ × (80℃ - 20℃) = 0.054 mm, plus the dimension at room temperature (20℃), the total inner diameter is 50.054 mm). The expansion amount of the zirconia bushing at 80℃ is 50 mm × 10×10⁻⁶/℃ × 60℃ = 0.03 mm. Therefore, the inner diameter at room temperature (20℃) should be designed as 50.024 mm (50.054 mm - 0.03 mm). Considering processing errors, the final inner diameter is designed to be 50.02-50.03 mm, ensuring that the fit clearance between the bushing and the shaft remains 0.01-0.02 mm within the operating temperature range to avoid jamming due to excessive tightness or reduced accuracy due to excessive looseness.
Connection adaptation must be designed according to the characteristics of ceramics: welding and threaded connections commonly used for metal components can easily cause ceramic cracking, so a "metal transition connection" scheme should be adopted. Taking the connection between a ceramic flange and a metal pipe as an example, 5 mm thick stainless steel transition rings are installed on both ends of the ceramic flange (the material of the transition ring must be consistent with that of the metal pipe to avoid electrochemical corrosion). High-temperature resistant ceramic adhesive (temperature resistance ≥200℃, shear strength ≥5 MPa) is applied between the transition ring and the ceramic flange, followed by curing for 24 hours. The metal pipe and the transition ring are connected by welding. During welding, the ceramic flange should be wrapped with a wet towel to prevent the ceramic from cracking due to the transfer of welding high temperature (≥800℃). When connecting the transition ring and the ceramic flange with bolts, bolts of stainless steel grade 8.8 should be used, and the pre-tightening force should be controlled at 20-30 N·m (a torque wrench can be used to set the torque). An elastic washer (e.g., a polyurethane washer with a thickness of 2 mm) should be installed between the bolt and the ceramic flange to buffer the pre-tightening force and avoid ceramic breakage.
2.2 Replacement of Ordinary Ceramic Components: Performance Matching and Load Adjustment
As can be seen from Table 1, there are significant differences in flexural strength and wear rate between ordinary alumina ceramics and zirconia ceramics. During replacement, parameters must be adjusted according to the overall structure of the equipment to avoid other components becoming weak points due to local performance surplus. Taking the replacement of an alumina ceramic bracket as an example, the original alumina bracket has a flexural strength of 400 MPa and a rated load of 50 kg. After replacement with a zirconia bracket with a flexural strength of 1200 MPa, the theoretical load can be increased to 150 kg (load is proportional to flexural strength). However, the load-bearing capacity of other components of the equipment must first be evaluated: if the maximum load-bearing capacity of the beam supported by the bracket is 120 kg, the actual load of the zirconia bracket should be adjusted to 120 kg to avoid the beam becoming a weak point. A "load test" can be used for verification: gradually increase the load to 120 kg, maintain the pressure for 30 minutes, and observe whether the bracket and beam are deformed (measured with a dial indicator, deformation ≤0.01 mm is qualified). If the beam deformation exceeds the allowable limit, the beam should be reinforced simultaneously.
The maintenance cycle adjustment should be based on actual wear conditions: the original alumina ceramic bearings have poor wear resistance (wear rate 0.005 mm/h) and require lubrication every 100 hours. Zirconia ceramic bearings have improved wear resistance (wear rate 0.001 mm/h), so the theoretical maintenance cycle can be extended to 500 hours. However, in actual use, the impact of working conditions must be considered: if the dust concentration in the equipment operating environment is ≥0.1 mg/m³, the lubrication cycle should be shortened to 200 hours to prevent dust from mixing into the lubricant and accelerating wear. The optimal cycle can be determined through "wear detection": disassemble the bearing every 100 hours of use, measure the diameter of the rolling elements with a micrometer. If the wear amount is ≤0.002 mm, the cycle can be extended further; if the wear amount is ≥0.005 mm, the cycle should be shortened and dust-proof measures should be inspected. In addition, the lubrication method should be adjusted after replacement: zirconia bearings have higher requirements for lubricant compatibility, so sulfur-containing lubricants commonly used for metal bearings should be discontinued, and polyalphaolefin (PAO)-based special lubricants should be used instead. The lubricant dosage for each piece of equipment should be controlled at 5-10 ml (adjusted according to the bearing size) to avoid temperature rise due to excessive dosage.
3. Daily Maintenance Tips: How to Extend the Service Life of Zirconia Ceramic Products?
Zirconia ceramic products in different scenarios require targeted maintenance to maximize their service life and reduce unnecessary losses.
3.1 Industrial Scenarios (Bearings, Seals): Focus on Lubrication and Dust Protection
Zirconia ceramic bearings and seals are core components in mechanical operation. Their lubrication maintenance must follow the principle of "fixed time, fixed quantity, and fixed quality". The lubrication cycle should be adjusted according to the operating environment: in a clean environment with a dust concentration ≤0.1 mg/m³ (e.g., a semiconductor workshop), lubricant can be supplemented every 200 hours; in an ordinary machinery processing workshop with more dust, the cycle should be shortened to 120-150 hours; in a harsh environment with a dust concentration >0.5 mg/m³ (e.g., mining machinery, construction equipment), a dust cover should be used, and the lubrication cycle should be further shortened to 100 hours to prevent dust from mixing into the lubricant and forming abrasives.
Lubricant selection should avoid mineral oil products commonly used for metal components (which contain sulfides and phosphides that can react with zirconia). PAO-based special ceramic lubricants are preferred, and their key parameters should meet the following requirements: viscosity index ≥140 (to ensure viscosity stability at high and low temperatures), viscosity ≤1500 cSt at -20℃ (to ensure lubrication effect during low-temperature startup), and flash point ≥250℃ (to avoid lubricant combustion in high-temperature environments). During lubrication operation, a special oil gun should be used to inject lubricant evenly along the bearing raceway, with the dosage covering 1/3-1/2 of the raceway: excessive dosage will increase operating resistance (increasing energy consumption by 5%-10%) and easily absorb dust to form hard particles; insufficient dosage will lead to insufficient lubrication and cause dry friction, increasing the wear rate by more than 30%.
In addition, the sealing effect of the seals should be checked regularly: disassemble and inspect the sealing surface every 500 hours. If scratches (depth >0.01 mm) are found on the sealing surface, an 8000-grit polishing paste can be used for repair; if deformation (flatness deviation >0.005 mm) is found on the sealing surface, the seal should be replaced immediately to avoid equipment leakage.
3.2 Medical Scenarios (Dental Crowns and Bridges, Artificial Joints): Balance Cleaning and Impact Protection
The maintenance of medical implants is directly related to usage safety and service life, and should be carried out from three aspects: cleaning tools, cleaning methods, and usage habits. For users with dental crowns and bridges, attention should be paid to the selection of cleaning tools: hard-bristle toothbrushes (bristle diameter >0.2 mm) can cause fine scratches (depth 0.005-0.01 mm) on the surface of the crowns and bridges. Long-term use will lead to food residue adhesion and increase the risk of dental caries. It is recommended to use soft-bristle toothbrushes with a bristle diameter of 0.1-0.15 mm, paired with neutral toothpaste with a fluoride content of 0.1%-0.15% (pH 6-8), avoiding whitening toothpaste containing silica or alumina particles (particle hardness up to Mohs 7, which can scratch the zirconia surface).
The cleaning method should balance thoroughness and gentleness: clean 2-3 times a day, with each brushing time not less than 2 minutes. The brushing force should be controlled at 150-200 g (approximately twice the force of pressing a keyboard) to avoid loosening the connection between the crown/bridge and the abutment due to excessive force. At the same time, dental floss (waxed dental floss can reduce friction on the surface of the crown/bridge) should be used to clean the gap between the crown/bridge and the natural tooth, and an oral irrigator should be used 1-2 times a week (adjust the water pressure to medium-low gear to avoid high-pressure impact on the crown/bridge) to prevent food impaction from causing gingivitis.
In terms of usage habits, biting hard objects should be strictly avoided: seemingly "soft" objects such as nut shells (hardness Mohs 3-4), bones (Mohs 2-3), and ice cubes (Mohs 2) can generate an instantaneous biting force of 500-800 N, far exceeding the impact resistance limit of dental crowns and bridges (300-400 N), leading to internal microcracks in the crowns and bridges. These cracks are difficult to detect initially but can shorten the service life of the crowns and bridges from 15-20 years to 5-8 years, and in severe cases, may cause sudden fracture. Users with artificial joints should avoid strenuous exercises (such as running and jumping) to reduce the impact load on the joints, and check the joint mobility regularly (every six months) at a medical institution. If limited mobility or abnormal noise is found, the cause should be investigated in a timely manner.
4. Performance Testing for Self-Learning: How to Quickly Judge Product Status in Different Scenarios?
In daily use, the key performance of zirconia ceramics can be tested using simple methods without professional equipment, enabling timely detection of potential problems and prevention of fault escalation. These methods should be designed according to scenario characteristics to ensure accurate and operable test results.
4.1 Industrial Load-Bearing Components (Bearings, Valve Cores): Load Testing and Deformation Observation
For ceramic bearings, attention should be paid to operational details in the "no-load rotation test" to improve judgment accuracy: hold the inner and outer rings of the bearing with both hands, ensuring no oil stains on the hands (oil stains can increase friction and affect judgment), and rotate them at a uniform speed 3 times clockwise and 3 times counterclockwise, with a rotation speed of 1 circle per second. If there is no jamming or obvious resistance change throughout the process, and the bearing can rotate freely for 1-2 circles (rotation angle ≥360°) by inertia after stopping, it indicates that the matching accuracy between the bearing rolling elements and the inner/outer rings is normal. If jamming occurs (e.g., sudden increase in resistance when rotating to a certain angle) or the bearing stops immediately after rotation, it may be due to rolling element wear (wear amount ≥0.01 mm) or inner/outer ring deformation (roundness deviation ≥0.005 mm). The bearing clearance can be further tested with a feeler gauge: insert a 0.01 mm thick feeler gauge into the gap between the inner and outer rings. If it can be inserted easily and the depth exceeds 5 mm, the clearance is too large, and the bearing needs to be replaced.
For the "pressure tightness test" of ceramic valve cores, the test conditions should be optimized: first, install the valve in a test fixture and ensure the connection is sealed (Teflon tape can be wrapped around the threads). With the valve fully closed, inject compressed air at 0.5 times the rated pressure into the water inlet end (e.g., 0.5 MPa for a rated pressure of 1 MPa) and maintain the pressure for 5 minutes. Use a brush to apply a 5% concentration soapy water (the soapy water should be stirred to produce fine bubbles to avoid unnoticeable bubbles due to low concentration) evenly on the valve core sealing surface and connection parts. If no bubbles are generated within 5 minutes, the sealing performance is qualified. If continuous bubbles (bubble diameter ≥1 mm) appear on the sealing surface, disassemble the valve core to inspect the sealing surface: use a high-intensity flashlight to illuminate the surface. If scratches (depth ≥0.005 mm) or wear marks (wear area ≥1 mm²) are found, an 8000-grit polishing paste can be used for repair, and the tightness test should be repeated after repair. If dents or cracks are found on the sealing surface, the valve core must be replaced immediately.
4.2 Medical Implants (Dental Crowns and Bridges): Occlusion Testing and Visual Inspection
The "occlusion feeling" test for dental crowns and bridges should be combined with daily scenarios: during normal occlusion, the upper and lower teeth should make even contact without localized stress concentration. When chewing soft foods (such as rice and noodles), there should be no soreness or foreign body sensation. If unilateral pain occurs during occlusion (e.g., gum soreness when biting on the left side), it may be due to excessive crown/bridge height causing uneven stress or internal microcracks (crack width ≤0.05 mm). The "occlusion paper test" can be used for further judgment: place occlusion paper (thickness 0.01 mm) between the crown/bridge and the opposing teeth, bite gently, and then remove the paper. If the occlusion paper marks are evenly distributed on the crown/bridge surface, the stress is normal. If the marks are concentrated at a single point (mark diameter ≥2 mm), a dentist should be consulted to adjust the crown/bridge height.
Visual inspection requires auxiliary tools to improve accuracy: use a 3x magnifying glass with a flashlight (light intensity ≥500 lux) to observe the crown/bridge surface, focusing on the occlusal surface and edge areas. If hairline cracks (length ≥2 mm, width ≤0.05 mm) are found, it may indicate microcracks, and a dental examination should be scheduled within 1 week (dental CT can be used to determine the crack depth; if the depth ≥0.5 mm, the crown/bridge needs to be remade). If localized discoloration (e.g., yellowing or blackening) appears on the surface, it may be due to corrosion caused by long-term accumulation of food residues, and cleaning should be intensified. In addition, attention should be paid to the operation method of the "dental floss test": gently pass dental floss through the gap between the crown/bridge and the abutment tooth. If the floss passes smoothly without fiber breakage, there is no gap at the connection. If the floss gets stuck or breaks (break length ≥5 mm), an interdental brush should be used to clean the gap 2-3 times a week to prevent gingivitis caused by food impaction.
4.3 Laboratory Containers: Tightness and Temperature Resistance Testing
The "negative pressure test" for laboratory ceramic containers should be performed in steps: first, clean and dry the container (ensure no residual moisture inside to avoid affecting leakage judgment), fill it with distilled water (water temperature 20-25℃, to prevent thermal expansion of the container due to excessively high water temperature), and seal the container mouth with a clean rubber stopper (the rubber stopper must match the container mouth without gaps). Invert the container and keep it in a vertical position, place it on a dry glass plate, and observe whether water stains appear on the glass plate after 10 minutes. If no water stains are present, the basic tightness is qualified. If water stains appear (area ≥1 cm²), check whether the container mouth is flat (use a straightedge to fit the container mouth; if the gap ≥0.01 mm, grinding is required) or whether the rubber stopper is aged (if cracks appear on the rubber stopper surface, replace it).
For high-temperature scenarios, the "gradient heating test" requires detailed heating procedures and judgment criteria: place the container in an electric oven, set the initial temperature to 50℃, and hold for 30 minutes (to allow the container temperature to rise evenly and avoid thermal stress). Then increase the temperature by 50℃ every 30 minutes, sequentially reaching 100℃, 150℃, and 200℃ (adjust the maximum temperature according to the container's usual operating temperature; e.g., if the usual temperature is 180℃, the maximum temperature should be set to 180℃), and hold for 30 minutes at each temperature level. After heating is completed, turn off the oven power and allow the container to cool naturally to room temperature with the oven (cooling time ≥2 hours to avoid cracks caused by rapid cooling). Remove the container and measure its key dimensions (e.g., diameter, height) with a caliper. Compare the measured dimensions with the initial dimensions: if the dimensional change rate ≤0.1% (e.g., initial diameter 100 mm, changed diameter ≤100.1 mm) and there are no cracks on the surface (no unevenness felt by hand), the temperature resistance meets the usage requirements. If the dimensional change rate exceeds 0.1% or surface cracks appear, reduce the operating temperature (e.g., from the planned 200℃ to 150℃) or replace the container with a high-temperature resistant model.
5. Recommendations for Special Working Conditions: How to Use Zirconia Ceramics in Extreme Environments?
When using zirconia ceramics in extreme environments such as high temperatures, low temperatures, and strong corrosion, targeted protective measures should be taken, and usage plans should be designed based on the characteristics of the working conditions to ensure stable service of the product and extend its service life.
Table 2: Protection Points for Zirconia Ceramics Under Different Extreme Working Conditions
|
Extreme Working Condition Type |
Temperature/Medium Range |
Key Risk Points |
Protective Measures |
Inspection Cycle |
|
High-Temperature Condition |
1000-1600℃ |
Thermal Stress Cracking, Surface Oxidation |
Stepwise Preheating (heating rate 1-5℃/min), Zirconia-Based Thermal Insulation Coating (thickness 0.1-0.2 mm), Natural Cooling |
Every 50 Hours |
|
Low-Temperature Condition |
-50 to -20℃ |
Toughness Reduction, Stress Concentration Fracture |
Silane Coupling Agent Toughness Treatment, Sharpening Acute Angles to ≥2 mm Fillets, 10%-15% Load Reduction |
Every 100 Hours |
|
Strong Corrosion Condition |
Strong Acid/Alkali Solutions |
Surface Corrosion, Excessive Dissolved Substances |
Nitric Acid Passivation Treatment, Selection of Yttria-Stabilized Ceramics, Weekly Detection of Dissolved Substance Concentration (≤0.1 ppm) |
Weekly |
5.1 High-Temperature Conditions (e.g., 1000-1600℃): Preheating and Thermal Insulation Protection
Based on the protection points in Table 2, the "stepwise preheating" process should adjust the heating rate according to the working conditions: for ceramic components used for the first time (such as high-temperature furnace liners and ceramic crucibles) with a working temperature of 1000℃, the preheating process is: room temperature → 200℃ (hold for 30 minutes, heating rate 5℃/min) → 500℃ (hold for 60 minutes, heating rate 3℃/min) → 800℃ (hold for 90 minutes, heating rate 2℃/min) → 1000℃ (hold for 120 minutes, heating rate 1℃/min). Slow heating can avoid temperature difference stress (stress value ≤3 MPa). If the working temperature is 1600℃, a 1200℃ holding stage (hold for 180 minutes) should be added to further release internal stress. During preheating, the temperature should be monitored in real time: attach a high-temperature thermocouple (temperature measurement range 0-1800℃) to the ceramic component surface. If the actual temperature deviates from the set temperature by more than 50℃, stop heating and resume after the temperature is evenly distributed.
Thermal insulation protection requires optimized coating selection and application: for components in direct contact with flames (such as burner nozzles and heating brackets in high-temperature furnaces), zirconia-based high-temperature thermal insulation coatings with a temperature resistance of over 1800℃ (volume shrinkage ≤1%, thermal conductivity ≤0.3 W/(m·K)) should be used, and alumina coatings (temperature resistance only 1200℃, prone to peeling at high temperatures) should be avoided. Before application, clean the component surface with absolute ethanol to remove oil and dust and ensure coating adhesion. Use air spraying with a nozzle diameter of 1.5 mm, spray distance of 20-30 cm, and apply 2-3 uniform coats, with 30 minutes of drying between coats. The final coating thickness should be 0.1-0.2 mm (excessive thickness may cause cracking at high temperatures, while insufficient thickness results in poor thermal insulation). After spraying, dry the coating in an 80℃ oven for 30 minutes, then cure at 200℃ for 60 minutes to form a stable thermal insulation layer. After use, cooling must strictly follow the "natural cooling" principle: turn off the heat source at 1600℃ and allow the component to cool naturally with the equipment to 800℃ (cooling rate ≤2℃/min); do not open the equipment door during this stage. Once cooled to 800℃, slightly open the equipment door (gap ≤5 cm) and continue cooling to 200℃ (cooling rate ≤5℃/min). Finally, cool to 25℃ at room temperature. Avoid contact with cold water or cold air throughout the process to prevent component cracking due to excessive temperature differences.
5.2 Low-Temperature Conditions (e.g., -50 to -20℃): Toughness Protection and Structural Reinforcement
According to the key risk points and protective measures in Table 2, the "low-temperature adaptability test" should simulate the actual working environment: place the ceramic component (such as a low-temperature valve core or sensor housing in cold chain equipment) in a programmable low-temperature chamber, set the temperature to -50℃, and hold for 2 hours (to ensure the component core temperature reaches -50℃ and avoid surface cooling while the interior remains uncooled). Remove the component and complete the impact resistance test within 10 minutes (using the GB/T 1843 standard drop weight impact method: 100 g steel ball, 500 mm drop height, impact point selected at the component's stress-critical area). If no visible cracks appear after impact (checked with a 3x magnifying glass) and the impact strength ≥12 kJ/m², the component meets low-temperature usage requirements. If the impact strength <10 kJ/m², "low-temperature toughness reinforcement treatment" is required: immerse the component in a 5% concentration silane coupling agent (KH-550 type) ethanol solution, soak at room temperature for 24 hours to allow the coupling agent to fully penetrate the component surface layer (penetration depth approximately 0.05 mm), remove and dry in a 60℃ oven for 120 minutes to form a tough protective film. Repeat the low-temperature adaptability test after treatment until the impact strength meets the standard.
Structural design optimization should focus on avoiding stress concentration: the stress concentration coefficient of zirconia ceramics increases at low temperatures, and acute angle areas are prone to fracture initiation. All acute angles (angle ≤90°) of the component should be ground into fillets with a radius ≥2 mm. Use 1500-grit sandpaper for grinding at a rate of 50 mm/s to avoid dimensional deviations due to excessive grinding. Finite element stress simulation can be used to verify the optimization effect: use ANSYS software to simulate the component's stress state under -50℃ working conditions. If the maximum stress at the fillet is ≤8 MPa, the design is qualified. If the stress exceeds 10 MPa, further increase the fillet radius to 3 mm and thicken the wall at the stress concentration area (e.g., from 5 mm to 7 mm). Load adjustment should be based on the toughness change ratio: the fracture toughness of zirconia ceramics decreases by 10%-15% at low temperatures. For a component with an original rated load of 100 kg, the low-temperature working load should be adjusted to 85-90 kg to avoid insufficient load-bearing capacity due to toughness reduction. For example, the original rated working pressure of a low-temperature valve core is 1.6 MPa, which should be reduced to 1.4-1.5 MPa at low temperatures. Pressure sensors can be installed at the valve inlet and outlet to monitor the working pressure in real time, with automatic alarm and shutdown when exceeding the limit.
5.3 Strong Corrosion Conditions (e.g., Strong Acid/Alkali Solutions): Surface Protection and Concentration Monitoring
In accordance with the protective requirements in Table 2, the "surface passivation treatment" process should be adjusted based on the type of corrosive medium: for components in contact with strong acid solutions (such as 30% hydrochloric acid and 65% nitric acid), the "nitric acid passivation method" is used: immerse the component in a 20% concentration nitric acid solution and treat at room temperature for 30 minutes. Nitric acid reacts with the zirconia surface to form a dense oxide film (thickness approximately 0.002 mm), enhancing acid resistance. For components in contact with strong alkali solutions (such as 40% sodium hydroxide and 30% potassium hydroxide), the "high-temperature oxidation passivation method" is used: place the component in a 400℃ muffle furnace and hold for 120 minutes to form a more stable zirconia crystal structure on the surface, improving alkali resistance. After passivation treatment, a corrosion test should be conducted: immerse the component in the actual corrosive medium used, place at room temperature for 72 hours, remove and measure the weight change rate. If the weight loss ≤0.01 g/m², the passivation effect is qualified. If the weight loss exceeds 0.05 g/m², repeat the passivation treatment and extend the treatment time (e.g., extend nitric acid passivation to 60 minutes).
Material selection should prioritize types with stronger corrosion resistance: yttria-stabilized zirconia ceramics (3%-8% yttrium oxide added) have better corrosion resistance than magnesium-stabilized and calcium-stabilized types. Especially in strong oxidizing acids (such as concentrated nitric acid), the corrosion rate of yttria-stabilized ceramics is only 1/5 that of calcium-stabilized ceramics. Therefore, yttria-stabilized products should be preferred for strong corrosion conditions. A strict "concentration monitoring" system should be implemented during daily use: collect a sample of the corrosive medium once a week and use an inductively coupled plasma optical emission spectrometer (ICP-OES) to detect the concentration of dissolved zirconia in the medium. If the concentration ≤0.1 ppm, the component has no obvious corrosion. If the concentration exceeds 0.1 ppm, shut down the equipment to inspect the component surface condition. If surface roughening occurs (surface roughness Ra increases from 0.02 μm to over 0.1 μm) or localized discoloration (e.g., gray-white or dark yellow), perform surface polishing repair (using 8000-grit polishing paste, polishing pressure 5 N, rotation speed 500 r/min). After repair, re-detect the dissolved substance concentration until it meets the standard. In addition, the corrosive medium should be replaced regularly to avoid accelerated corrosion due to excessive concentration of impurities (such as metal ions and organic matter) in the medium. The replacement cycle is determined based on the medium pollution level, generally 3-6 months.
6. Quick Reference for Common Problems: Solutions to High-Frequency Issues in Zirconia Ceramic Use
To quickly resolve confusion in daily use, the following high-frequency issues and solutions are summarized, integrating the knowledge from the previous sections to form a complete usage guide system.
Table 3: Solutions to Common Problems of Zirconia Ceramics
|
Common Problem |
Possible Causes |
Solutions |
|
Abnormal Noise During Ceramic Bearing Operation |
3. Installation deviation |
1. Supplement PAO-based special lubricant to cover 1/3 of the raceway 2. Measure rolling element wear with a micrometer—replace if wear ≥0.01 mm 3. Adjust installation coaxiality to ≤0.005 mm using a dial indicator |
|
Gingival Redness Around Dental Crowns/Bridges |
|
|
|
Cracking of Ceramic Components After High-Temperature Use |
|
|
|
Mold Growth on Ceramic Surfaces After Long-Term Storage |
|
1. Wipe mold with absolute ethanol and dry in a 60℃ oven for 30 minutes 2. Adjust storage humidity to 40%-50% and install a dehumidifier |
|
Tight Fit After Replacing Metal Components with Ceramics |
|
1. Recalculate dimensions per Table 1 to increase fit clearance by 0.01-0.02 mm 2. Use metal transition joints and avoid direct rigid assembly |
7. Conclusion: Maximizing the Value of Zirconia Ceramics Through Scientific Usage
Zirconia ceramics have become a versatile material across industries such as manufacturing, medicine, and laboratories, thanks to their exceptional chemical stability, mechanical strength, high-temperature resistance, and biocompatibility. However, unlocking their full potential requires adherence to scientific principles throughout their lifecycle—from selection to maintenance, and from daily use to extreme condition adaptation.
The core of effective zirconia ceramic usage lies in scenario-based customization: matching stabilizer types (yttria-stabilized for toughness, magnesium-stabilized for high temperatures) and product forms (bulk for load-bearing, thin films for coatings) to specific needs, as outlined in Table 1. This avoids the common pitfall of "one-size-fits-all" selection, which can lead to premature failure or underutilization of performance.
Equally critical is proactive maintenance and risk mitigation: implementing regular lubrication for industrial bearings, gentle cleaning for medical implants, and controlled storage environments (15-25℃, 40%-60% humidity) to prevent aging. For extreme conditions—whether high temperatures (1000-1600℃), low temperatures (-50 to -20℃), or strong corrosion—Table 2 provides a clear framework for protective measures, such as stepwise preheating or silane coupling agent treatment, which directly address the unique risks of each scenario.
When issues arise, the common problem quick reference (Table 3) serves as a troubleshooting tool to identify root causes (e.g., abnormal bearing noise from insufficient lubrication) and implement targeted solutions, minimizing downtime and replacement costs.
By integrating the knowledge in this guide—from understanding core properties to mastering testing methods, from optimizing replacements to adapting to special conditions—users can not only extend the service life of zirconia ceramic products but also leverage their superior performance to enhance efficiency, safety, and reliability in diverse applications. As material technology advances, continued attention to usage best practices will remain key to maximizing the value of zirconia ceramics in an ever-expanding range of industrial and civil scenarios.


 中文简体
中文简体 русский
 Español
 عربى
عربى Português
 日本語
日本語 한국어
한국어
